You’ve all seen the cutesy posts on social media of bookish baddies. They print book stickers and place them in their own custom book journals. They use differently colored markers to create fun and artistic spreads. It’s inspiring and super easy to do yourself.
Creating your own reading journal can be a fun and personalized process. Here’s a step-by-step guide to help you get started:
1. Choose a Format
Decide whether you want a physical journal, a digital document, or an app. Each has its own advantages, so choose based on your preferences and convenience.
If you’re going with a physical journal, A5 is the size most creators recommend.
2. Select a Dedicated Notebook or App
If you opt for a physical journal, choose a notebook with enough pages for your reading journey. For digital options, explore journaling apps or create a dedicated document on your preferred platform.
Suggestions:
⤑ App: Pagebound offers more than just a space to a journal.
⤑ Physical: Nothing beats a nice Moleskine journal.
⤑ Digital: I love this Reading Journal I found on Etsy.

3. Design the Layout
Determine the layout of your entries. Include sections for book details like title, author, and genre, as well as space for your thoughts, quotes, and reflections.
If you’re feeling stuck, go online and get inspired by other creators.

4. Create a Table of Contents (For Physical Journals)
If using a physical journal, leave a few initial pages for a table of contents. As you fill the journal, update the table of contents with page numbers for each book or entry.
5. Include Key Information
For each book entry, include key information such as the title, author, publication date, and genre. You can also note the date you started and finished the book.
6. Add Personal Touches
Make your journal unique by adding personal touches. Decorate the pages, include doodles, or use different colors for various sections. Your reading journal is an expression of your reading journey, so let your creativity shine.
Invest in tools like washi tape, colorful markers, glitter gel pens, stickers, and other fun stationery.

7. Leave Space for Reflection
Allocate space to jot down your thoughts, reactions, and reflections on each book. This is where you can express your opinions, share favorite quotes, or analyze the plot and characters.
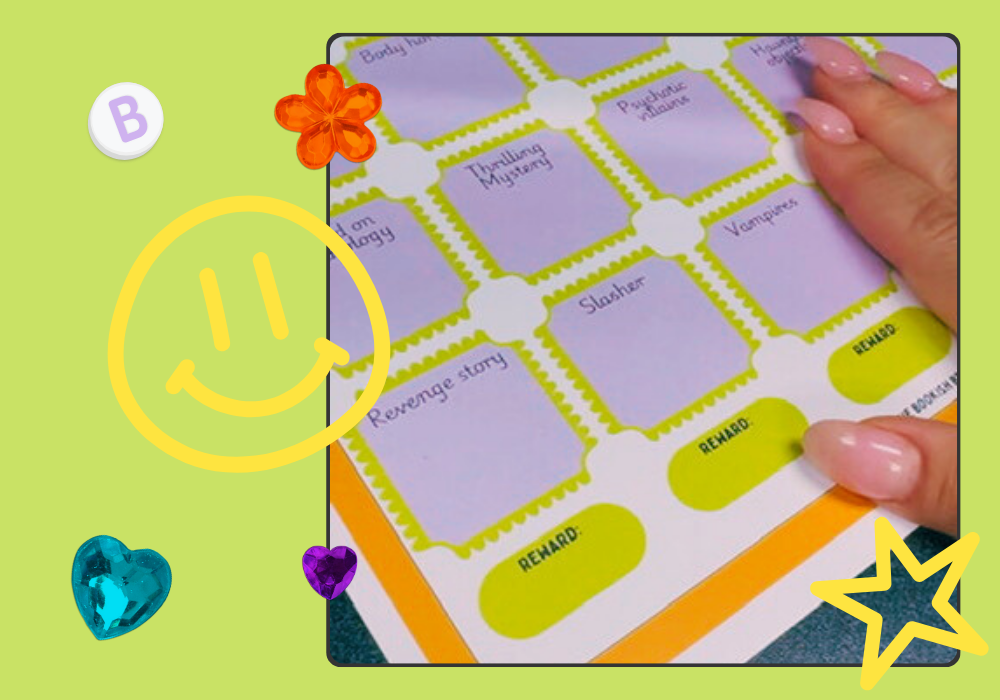
8. Set Reading Goals
Dedicate a section to your reading goals. You should have a space to track and celebrate your achievements. Whether it’s a monthly book count, exploring a new genre, or participating in reading challenges, this space is essential. This adds a motivating element to your journal.
9. Include a Ratings System
Consider adding a ratings system for each book, such as stars or a numerical scale. This can provide a quick visual reference to your overall enjoyment of the book.
I suggest creating different rating systems for different genres.

10. Regularly Update Your Journal
Make it a habit to update your reading journal regularly. Set aside time after finishing each book to capture your thoughts while they’re still fresh.
11. Experiment and Adjust
Feel free to experiment with your journal format and make adjustments as needed. Your reading journal is a personal space, so tailor it to suit your evolving preferences and needs.
The goal is to create a reading journal that enhances your reading experience. It should serve as a meaningful record of your literary journey. Have fun with the process, and don’t be afraid to make it uniquely yours!